
If you consider yourself a crafter of any kind, you are probably already familiar with the wonderful accessory that is washi tape! If not, prepare to be inspired: this do-it-all DIY must-have is absolutely perfect for decorating your LifePlanner™– even if you aren’t exactly the next Pinterest professional. Using classic washi tape and our designer sticker sheets, we’re going to show you a few simple techniques to turn your LifePlanner™ into a work of (washi) art!

What You Need:
– washi tape and/or designer sticker sheets
– ruler (your free gift with every LifePlanner™ purchase!)
– scissors
Creating fancy frames for your monthly or weekly calendar is a gorgeous way to add personality and excitement to your LifePlanner™ – particularly if you chose the neutral interior and are looking to add pops of color or metallic highlights! However, we found the designer sticker sheets just as easy to mix and match with a colorful interior. Watercolor against the goldenrod theme of August is simply stunning!
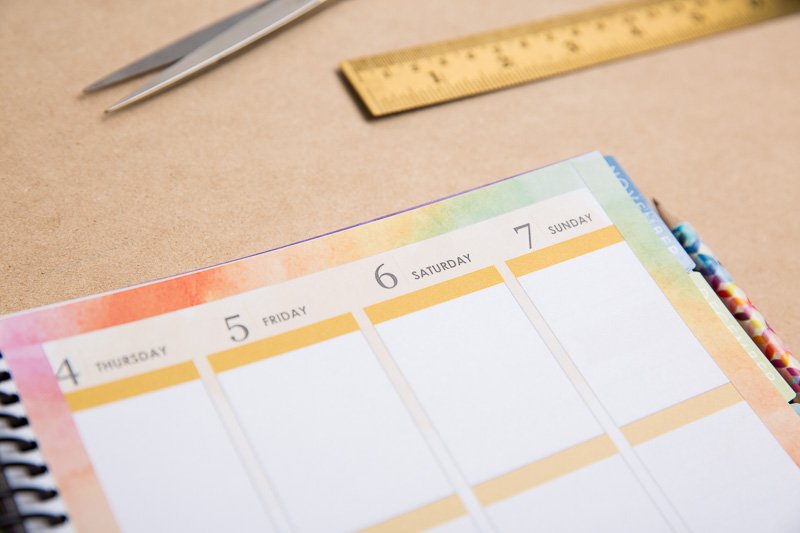
Begin by selecting your washi or sticker sheet (we used metallic asterisk washi tape in gold for the monthly calendar and watercolor for our weekly selections). Using your ruler, measure the perimeter lengths of your borders and mark your washi tape or sticker sheet to cut the right lengths.

As an added tip, you can also use the pre-ruled lines on the back of your designer sticker sheets as a guideline. Whether you want to add borders to just the goals section, mark a super-special day, or outline an entire week is totally up to you and your creativity!
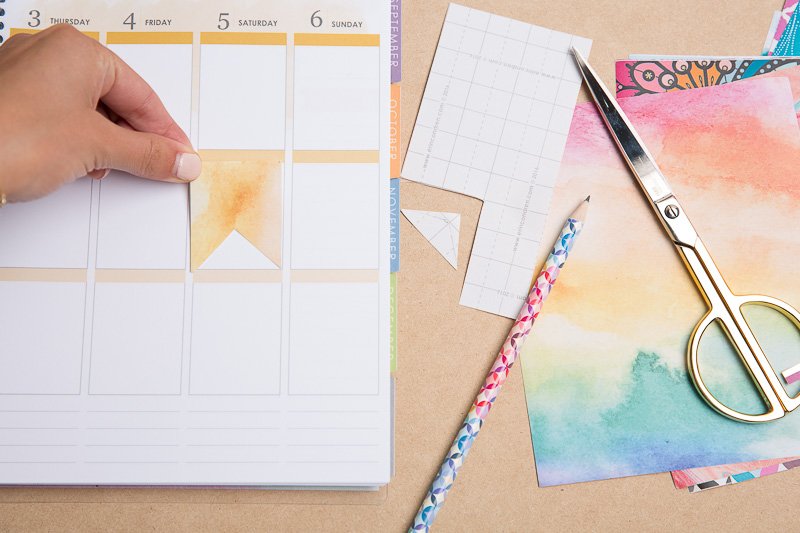
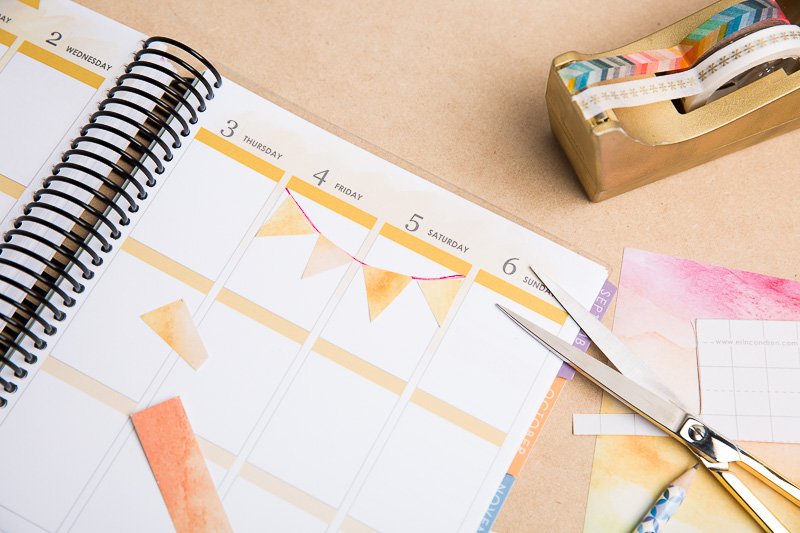
Design Option 3: Banners
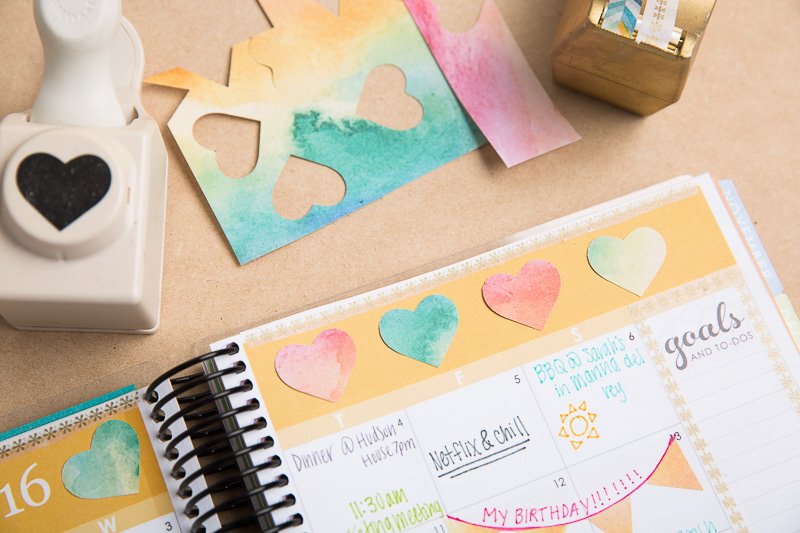
Design Option 4: Shapes
It may seem terribly obvious, but one of the easiest and most versatile design options for your planner are shapes of all kinds! To take it a step further, you can invest in hole punchers that create even more unique shapes- like our classic asterisk, a heart, or even a pineapple!
Want more LifePlanner decorating inspiration? Follow us on Pinterest!
Comments are closed.